Wednesday, 29 January 2014

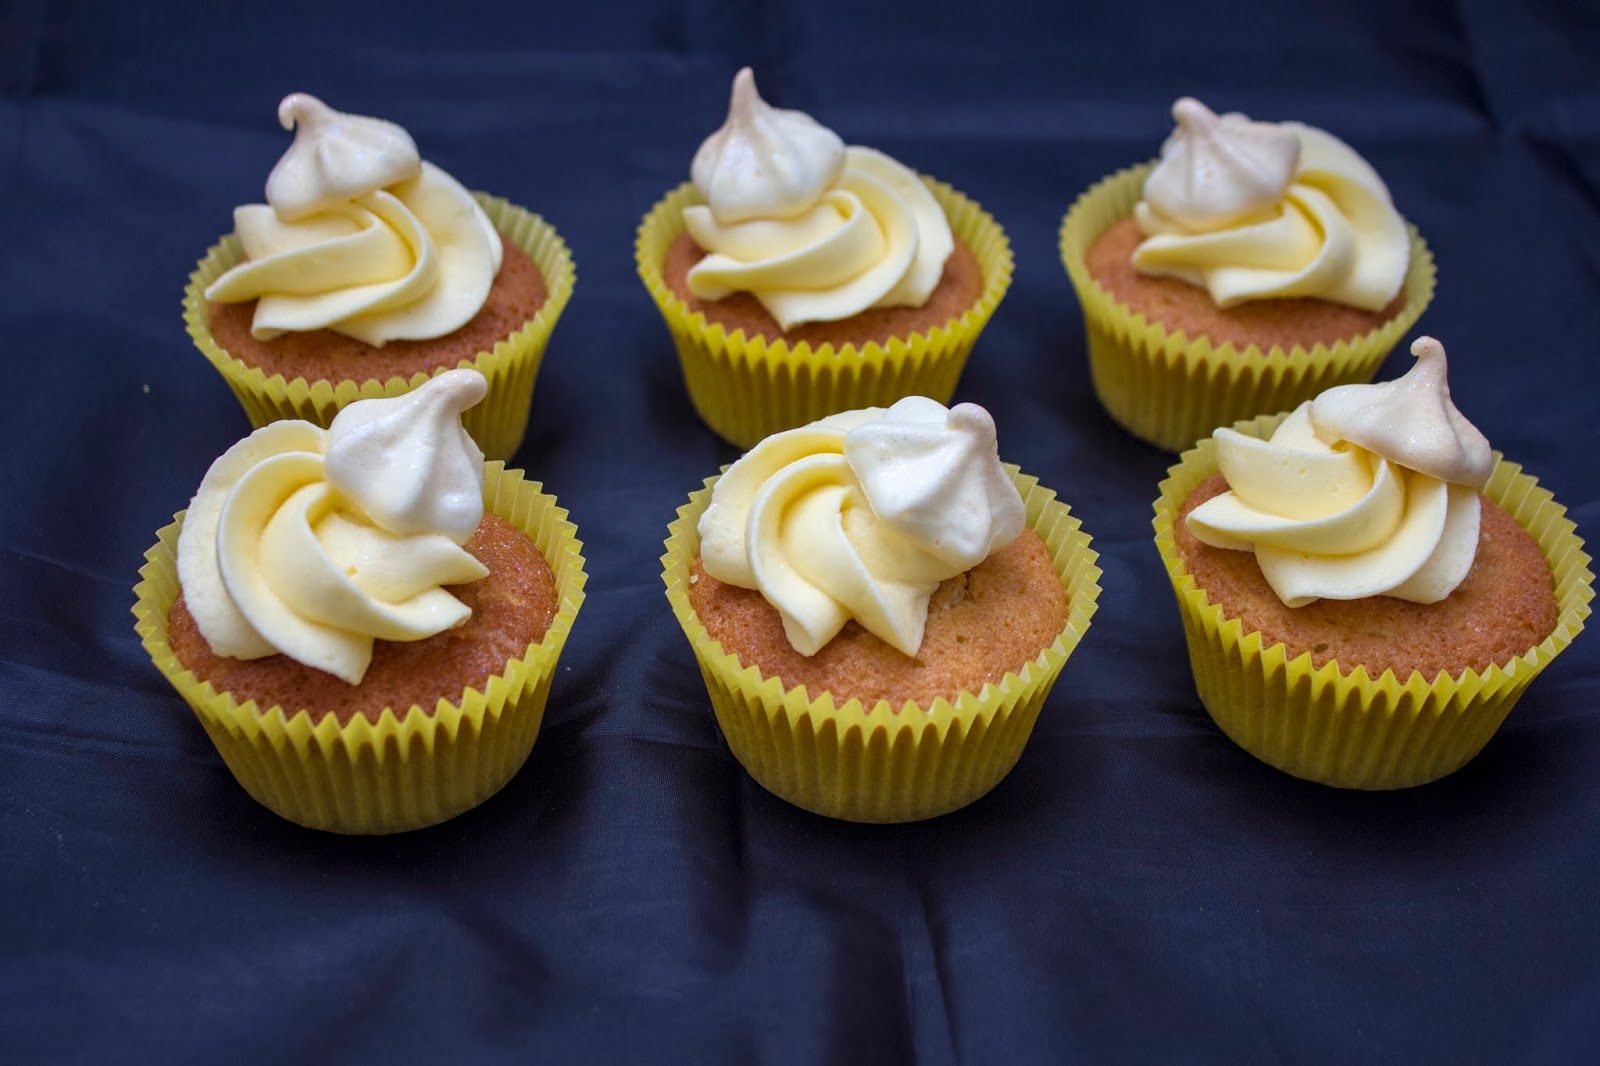
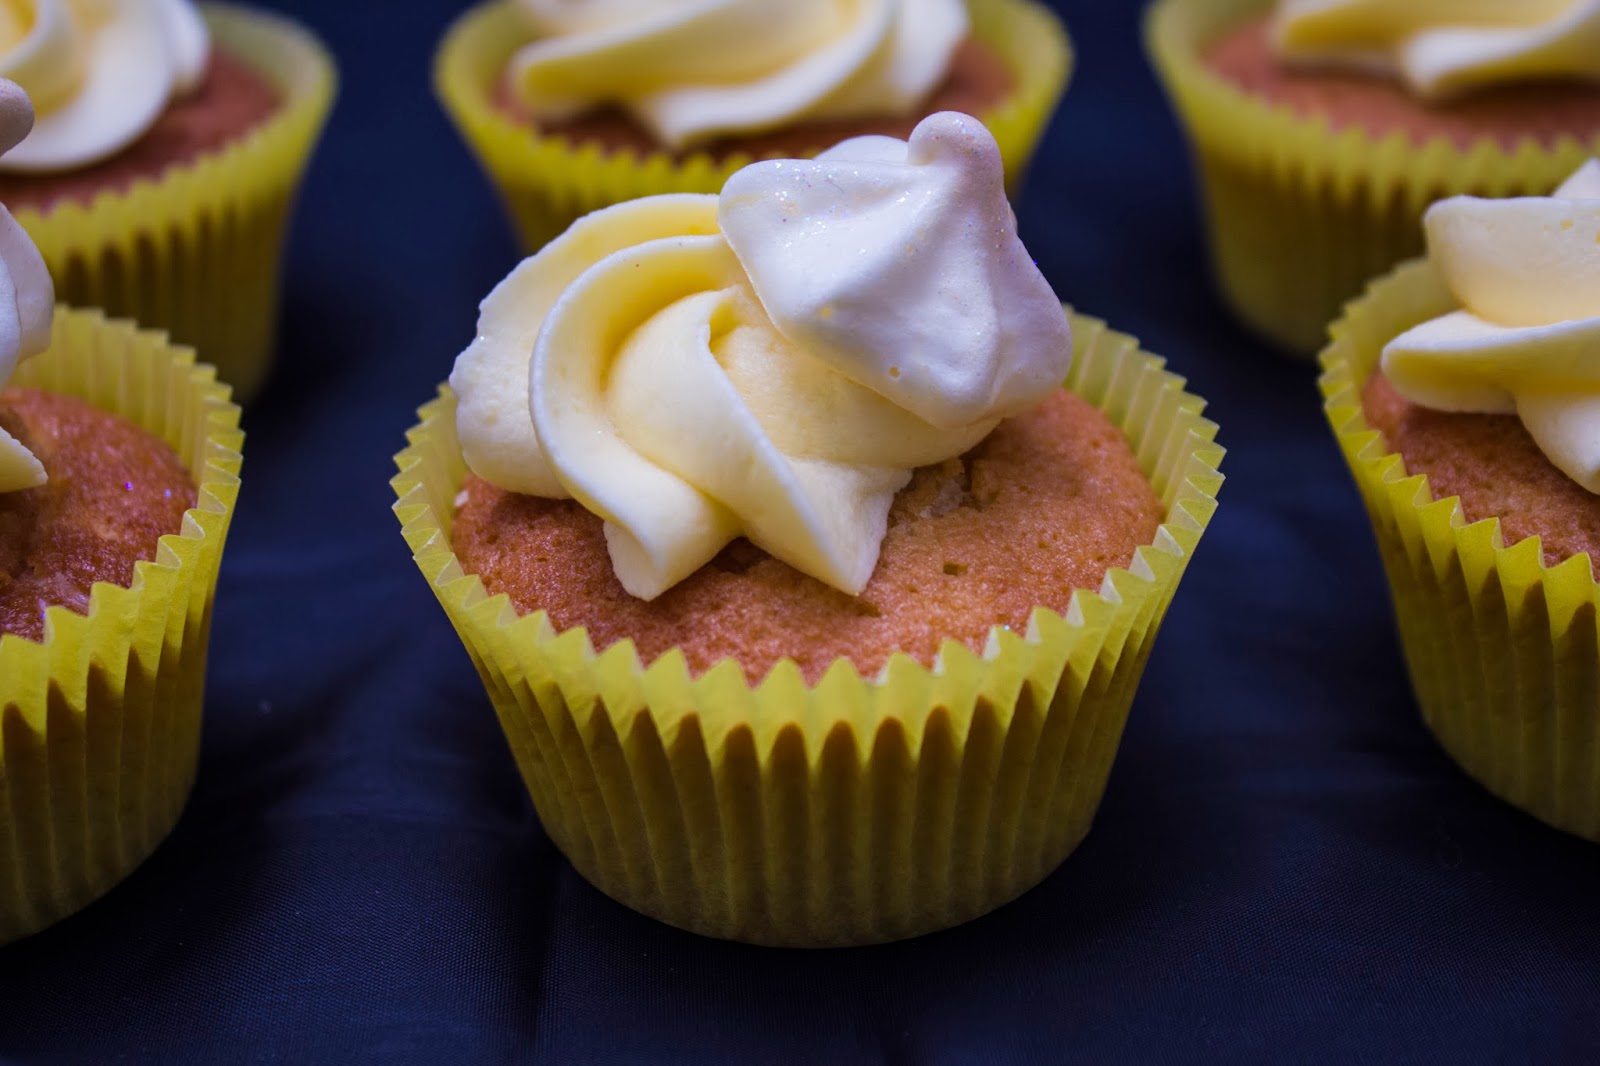
Lemon Meringue Cupcakes!

Adapting Recipes

Hello everyone! I hope you are all keeping your spirits up through the horrible weather! I have a spring recipe for you, which might just cheer you up!


I absolutely love lemon drizzle cake and I've been using the same recipe for years! I love adapting recipes to make new ones, so I decided to give this one a bit of a re-vamp. 

I used the BBC GoodFood lemon drizzle cake recipe (available online) but used it to make several cupcakes rather than one big cake. Essentially you can do this with any recipe, just remember that you will end up with more than 12 cupcakes at the end (never seems to be a problem in this house)! The recipe itself is really just a sponge recipe with added lemon zest, you can swap the lemon zest for orange or lime zest if you like, both work well with cakes!


Once baked, I made a small hole in each cupcake using a knife and filled this hole with a good quality lemon curd. This gives an extra hit of lemon goodness! Yum! I then placed the cut out piece of cake on top of the lemon curd filling to cover up the hole.

Instead of making a lemon drizzle icing, I made a lemon buttercream using the lemon curd, butter and icing sugar. The lemon curd gives a really good zingy taste and you get a really smooth finish on your buttercream! 

So lemon meringue cupcakes wouldn't be completely finished without the meringue right? I whipped three egg whites and caster sugar to create my meringues. I then pipped them onto a baking sheet and popped them in the oven on a really low temperature until they were dried out (usually takes about 2-3hours but you can leave them overnight). They will peal off the baking parchment easily when they are ready! I dusted mine with edible glitter (just because).

Meringues can be really tricky to make and I did need to try a few times before my egg whites thickened. The main thing is to make sure all your equipment is clean and free of fat, use a stainless steel or glass bowl as plastic holds in grease. Then its really about patience and knowing when to stop whipping. They say practice makes perfect (or near perfect at least)!

Anyway, I'm very pleased with the end result, they looked and tasted great! Lemon always reminds me of spring, so you could always make these as an alternative or addition to Chocolate Easter eggs!


 Thanks for reading!
Wednesday, 15 January 2014

Big Birthday Cakes on a Budget!

50th Birthday Surprise

Hello again everyone! I've been very busy over the past few weeks, planning and getting my bake on for my dad's 50th Birthday cake! My dad had a birthday meal and as a surprise my mum thought it would be nice to give him a cake at the end, I naturally obliged!

My dad is into everything musical, so the theme wasn't difficult to put together, however, this was to be my first ever large cake. At the moment, I am a bit short of the old dollar, so I had to be inventive. How could I make a large birthday cake, without buying new cake tins and splashing out on lots of fancy ingredients and decorations?


The cake is essentially two square sponge cakes stuck together. I only have a sponge recipe for a round sandwich cake, so I used a very handy app called the CakeOMeter made by the lovely people at CakeBaker (you can find these guys on Facebook and the app is on the apple store). This app takes your old recipe with the old sized cake tin and calculates how much of the recipe you will need for the cake to be baked in a different tin. I've never been great with maths, and I needed a fairly quick solution, so this app was perfect to give me the right sponge mixture for my square cakes. 

Several hours later, I ended up with four individually baked square sponge layers! Once sandwiched together with vanilla buttercream and raspberry jam, they formed a lovely large birthday cake! After this, I covered the whole cake in another thin layer of buttercream, to keep the cake moist and to make sure the sugarpaste stuck to the whole cake. 

I covered the whole cake in white sugarpaste (I buy mine from Sweet Success, a fab cake decorating shop in Nottingham, you can make your own, but I'm not that skilled yet!). After this stage, I added the white keyboard keys all the way round the edge of the cake.
I then added the small black keys using black fondant. You can colour your own black fondant, but I bought mine, as (speaking from experience) it takes forever to mix a really good black colour! At this stage I also decided to add a black ribbon around the edge of the top of the keys (to smarten up the edge of the cake). We took this off before cutting the cake, but you can also use black fondant to get that clear edge.

The next stage was to add the black royal icing ontop. For this particular design, I printed out a nice font from the computer at the scale I wanted it to be for the cake. I then copied the design onto greaseproof paper and 'pinpricked' the design onto the cake. This gives you a guide to go by, making it a lot easier to pipe on your fancy lettering! I then added the 50 and a few black musical 'features' made from my own molds and freehand (by cutting out templates).
The last stage was to add some gold touches! I used edible lustre dust, which you can buy in many
cake decorating stores or even Lakeland or supermarkets! Mix a tiny bit of the dust with a strong alcohol (I used Jack Daniels, which worked well as its a gold colour, but use Vodka or Rum for a clear finish if using another lustre dust). This creates a good paste that you can paint with! It needs a couple of coats, so wait for it to dry inbetween (difficult when your on a time constraint, but it is worth it!).


So how did I keep the cost down? I used the CakeOMeter to allow me to use the same cake tin four times, saving me money on buying several new cake tins. I kept the design simple, sticking to three colours only, avoiding the need to buy lots of sugarpaste, only to use tiny amounts. I only bought the ingredients that I needed, I worked out exactly how much I needed before I baked (good planning goes a long way).

I'm very please with how it turned out, it took a lot of time, effort and at some times stress to make! I wanted it to be the best I could achieve as it was for my dad and he deserves the best!

Stay tuned for more delicious bakes!

  
  Thanks for reading!